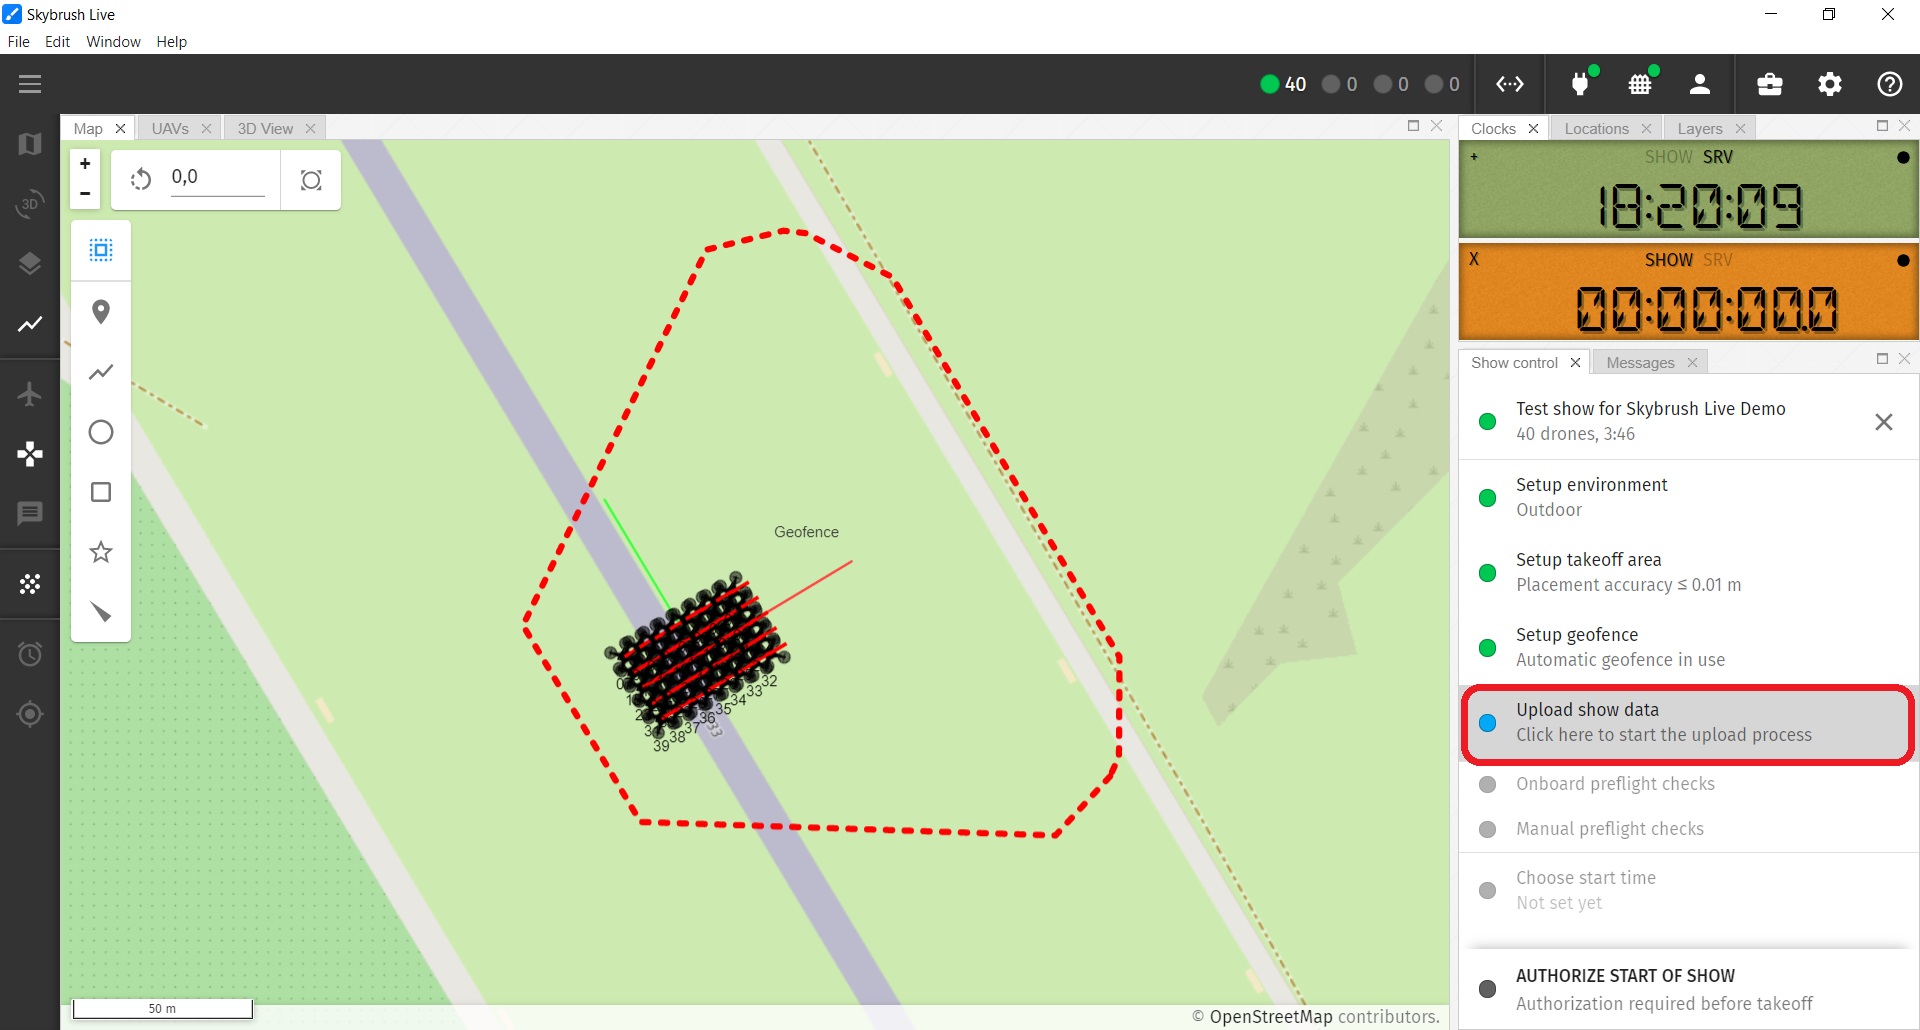
Upload your mission to the drones
Next, press the Upload show data checklist item to upload your show content to your drones.
On the upload popup dialog window, drones are organized into rows of 10 according to their show ID (e.g. s1-10, as shown on the left of the dialog window), while individual icons of drones show their drone ID.
Press the START button at the bottom of the window to upload the show to all drones.
If you wish to upload to only specific drones, you can select them by clicking on their ID icon once (and deselect by clicking again). You can also select a full row by clicking on the group descriptor on the left. Selected drones will be moved to the waiting state (their icon will turn blue).
If there are drones in the waiting state, the START button will turn into START SELECTED, and will upload show data only to the selected drones.
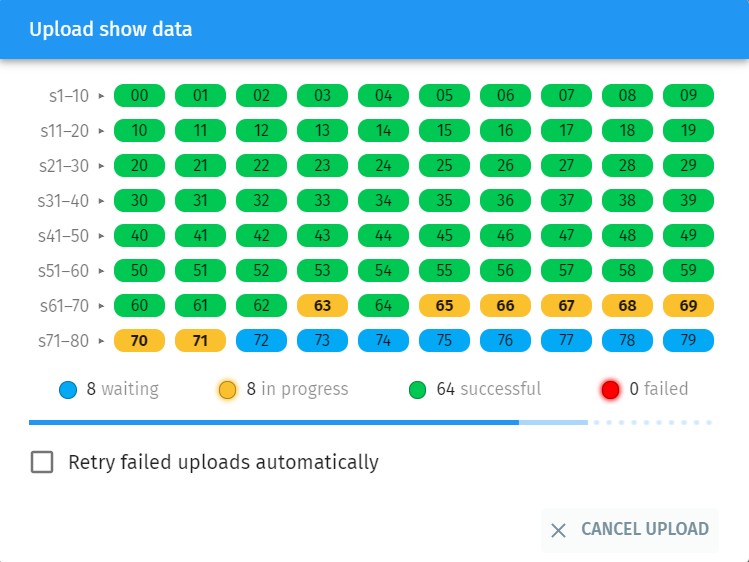
The upload process can take some time depending on the number of drones you use and the strength and quality of the wifi connection to the drones. The overall progress is indicated by the progress bar in the middle of the window, while individual status of each drone is indicated by the color of its icon:
-
blue - waiting
-
yellow - in progress
-
green - successful
-
red - failed
You can retry failed drones automatically by enabling the checkbox at the bottom left of the dialog window.
The upload finishes successfully if all icons turn green. In this case you can proceed to the next step by closing the upload dialog window.
| You can close and reopen the upload window during upload any time, in this case the progress bar will appear on the Upload show data button of the show control panel to show the overall progress of the upload process. |